
Installing a new handrail is typically quite straightforward, whether it’s your first install or your fiftieth. But handrails are unforgiving in a way that most weekend projects aren’t. Get a measurement or an anchor point wrong and you won’t just have a cosmetic flaw; you could have a failed inspection or a rail that comes loose the first time someone leans on it. The frustrating part is that the most common mistakes are also the most avoidable, once you know where to look.
So before you pick up a drill, it’s worth knowing what tends to go sideways. If you’d rather have the full walkthrough first, start with our complete installation guide and keep this nearby as your list of things not to do. Here’s where installers slip up most often:
- Choosing the wrong height
- Inadequate support or poor anchoring
- Neglecting code compliance
- Forgetting to check the angle
- Using low-quality materials
- Sloppy joint connections
- Failing to extend the handrail
Let’s walk through each one, why it trips people up, and how to sidestep it, with a few pointers from the team at Aluminum Handrail Direct along the way.
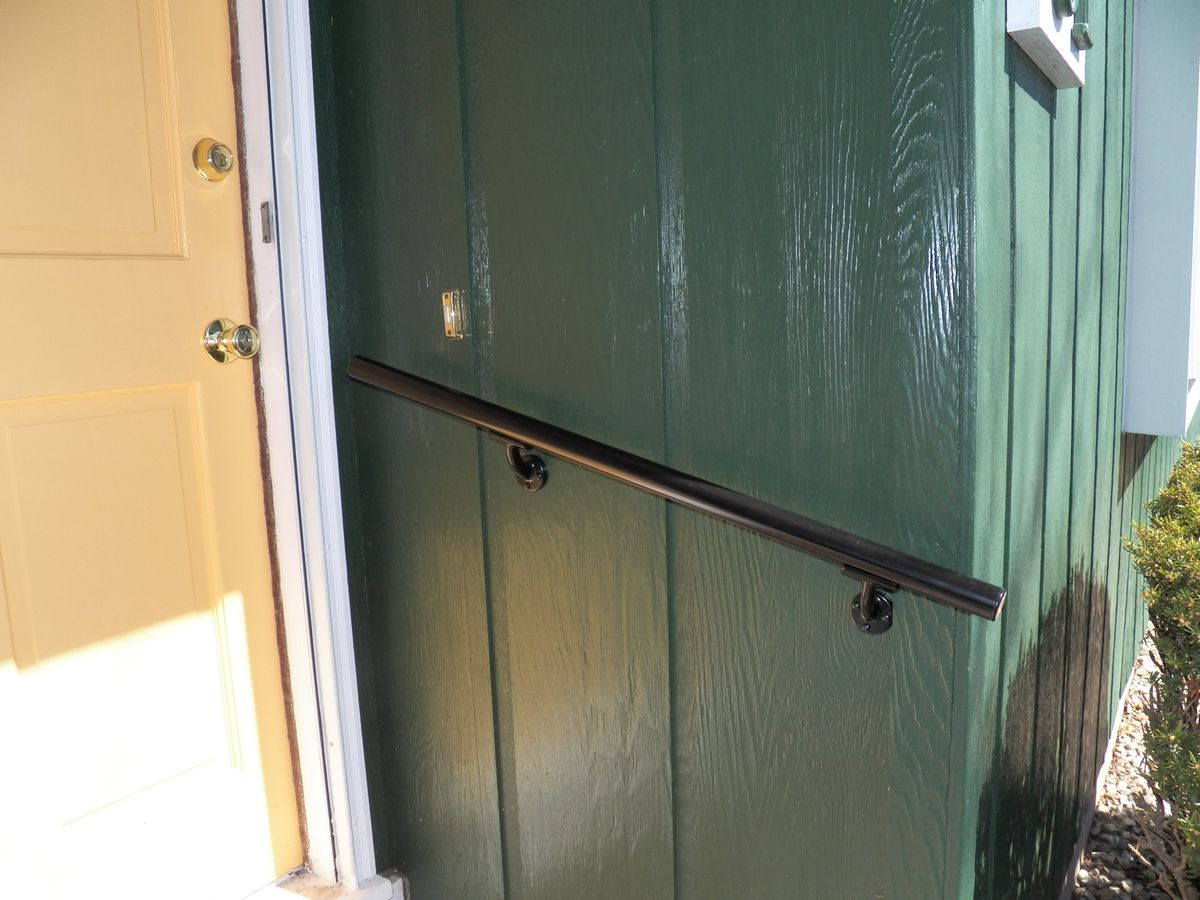
Things to Watch Out For When Installing a Handrail
Choosing the Wrong Height
Of all the ways to trip up, height is the one that stings the most, because you often don’t catch it until the whole rail is mounted and an inspector is shaking their head. Most building codes want a handrail sitting 34 to 38 inches above the stair nosing, measured straight up from the leading edge of each tread. The trick to nailing it isn’t measuring more carefully at a single point; it’s giving yourself a guide. Mark your target height at the top and bottom of the run, snap a chalk line between the two marks, and mount your brackets to that line. Do that, and the rail stays true to height and slope the whole way down.
Providing Inadequate Support or Poor Anchoring
A handrail is only as trustworthy as what’s anchored behind it, and drywall alone won’t cut it. It’s the single most common reason a rail feels loose a few months in, or worse, pulls clean off the wall when someone actually needs it. Track down your studs with a stud finder and anchor into framing or solid masonry, with mounts roughly every four feet and one near the top and bottom of the run. And when a bracket lands in that awkward gap between studs, resist the urge to sink it into drywall and hope for the best. Before the drill comes out, it’s worth checking the right anchor for the job, how far apart your brackets should be, and how many you’ll actually need.
Neglecting Code Compliance
Height gets all the attention, but it’s only one line in a much longer rulebook. Depending on where you live and whether the job is residential or commercial, code can dictate grip size, how much space sits between the rail and the wall, how many steps it takes before a handrail is even required, and whether you need one on both sides.
None of this is thrilling reading, but skipping it is how finished work ends up getting torn back out. It’s worth a few minutes up front to check whether your stairs need a rail on both sides and how many steps actually trigger the requirement. If the project is public or accessible, review the ADA-compliant requirements as well. One caveat worth repeating: the 34- to 38-inch range is the IRC residential standard, and commercial, ADA, and local rules can all differ, so treat your local building department as the final word. If you want to go to the source, the International Code Council publishes the model codes.
Forgetting to Check the Angle
Your hand notices a crooked rail before your eyes do. A handrail should shadow the exact slope of the stairs or ramp from one end to the other, and when the angle wanders even slightly, it feels off under the palm, catches you at the wrong moment, and undercuts the whole point of having a rail. Save yourself the redo by measuring the stair pitch, keeping the rail parallel to the nosing line the entire way, and double-checking that the height still falls within the 34 to 38-inch window at both ends before anything gets fastened for good.
Using Low-Quality Materials
Cutting corners on materials is a mistake that quietly hides for a while, then shows up all at once. Interior-grade hardware on an outdoor rail is the classic example: it looks fine on install day, then rusts, weakens, and starts to fail once the weather has had its say. The fix is simply matching the material to where it’s going to live, and for anything outdoors, especially near the coast, leaning on parts built to shrug off the elements. Our rundown of the best materials for outdoor handrails lays out the options.
Creating Sloppy Joint Connections
Joints are where a rushed install gives itself away. Force two sections together at a bad angle and you’ve weakened the rail, made it look amateur, and left a rough spot right where someone’s hand is going to slide. The cure is patience more than skill: dry-fit every section before you commit, measure twice, and reach for the correct fitting instead of muscling pieces into submission. If you’re not sure which returns or connectors your layout calls for, our guide to handrail types and fittings can point you to the right pieces.
Failing to Extend the Handrail
Here’s one that’s easy to overlook until the rail is cut too short to fix: in many cases, a handrail has to be continuous and reach past the top and bottom of the stairs, so there’s something to hold before the first step and after the last. Exactly how far depends on which code you’re building for.
For accessible and commercial work, ADA and IBC generally ask the rail to run at least 12 inches past the top riser, then continue at the stair’s slope for one tread depth beyond the bottom before it levels off. Residential IRC is usually more forgiving, calling for the rail to span the full flight and return neatly to the wall or a newel post. Either way, the move is to plan your total length before you buy rather than after you cut, and to confirm the specifics for your build. Ramps play by their own rules, which our ADA handrail guide for ramps gets into.
_____
None of this is meant to scare you off. With the right kit and a little forethought, a handrail install is well within reach, and dodging these seven mistakes is most of the battle.
If you’re after a rail that looks great, lasts for years, and never asks you to repaint it, take a look at our aluminum handrails and lean on our installation guides to make the job go more smoothly. Not sure which option suits your project? Give the Aluminum Handrail Direct team a call toll-free at 888-518-9890 or at 417-409-3179, or reach out online, and we’ll help you sort it out.
Last Updated September 3, 2026